The going rate for a reliable Wi-Fi system that blankets a house with a reliable internet connection can cost several hundred dollars, and sometimes more. If Vilo, which admittedly was a company we’d never heard of prior to this review, has its way, home Wi-Fi systems are about to get really cheap. Like $69.98 for a three-pack mesh Wi-Fi system. If you need more, you’re looking at $27.98 per unit.
For the past 10 days, we’ve had Vilo up and running in our home office, connecting several devices to its wireless network. During our time testing, we didn’t notice too many hiccups or slowdowns, proving to us Vilo is on to something here. But the system isn’t perfect. Let us explain.
The who, what and how
Who this is for: Vilo’s mesh system is perfect for someone who doesn’t have a high-speed internet plan, but they’re struggling to get a reliable Wi-Fi connection in every corner of their home. It’s affordably priced and easy to set up, and the app doesn’t overcomplicate managing your network.
What you need to know: This system lacks advanced features for managing the network, along with Wi-Fi 6 for increased Wi-Fi throughput, but that’s to be expected with an entry-level mesh system. The app you use to manage your network has some frustrating bugs, but you shouldn’t have to spend a lot of time using it after your network is up and running.
How it compares: Our top pick for the best mesh Wi-Fi routers, the Eero 6, is currently priced at $279 for three units. And that’s one of the cheaper mesh systems we tested. The Velop MX4200 currently sells for $499 but also offers Wi-Fi 6 connectivity. When looking at pricing for competing mesh systems, it quickly becomes clear how ridiculously low the cost of the Vilo system is. Eero, and for that matter the Velop systems, are for spaces with multiple heavy internet users, whereas the Vilo is meant more for spaces that can get by with a basic Wi-Fi system.
What is a mesh Wi-Fi system?
All mesh Wi-Fi systems rely on a series of access points that create a blanket of coverage for your space. Each point broadcasts a Wi-Fi signal and is in constant communication with the rest of the access points that are part of the same network to ensure that each connected device is receiving the best signal and speed possible.
As you walk around your home using your phone to stream music, each access point will automatically hand off the connection to whichever node your device is going to benefit from the most.
And because a mesh network is made up of multiple devices, you’re able to create a much bigger Wi-Fi network that should also be more reliable and provide better speeds.
Design and setup
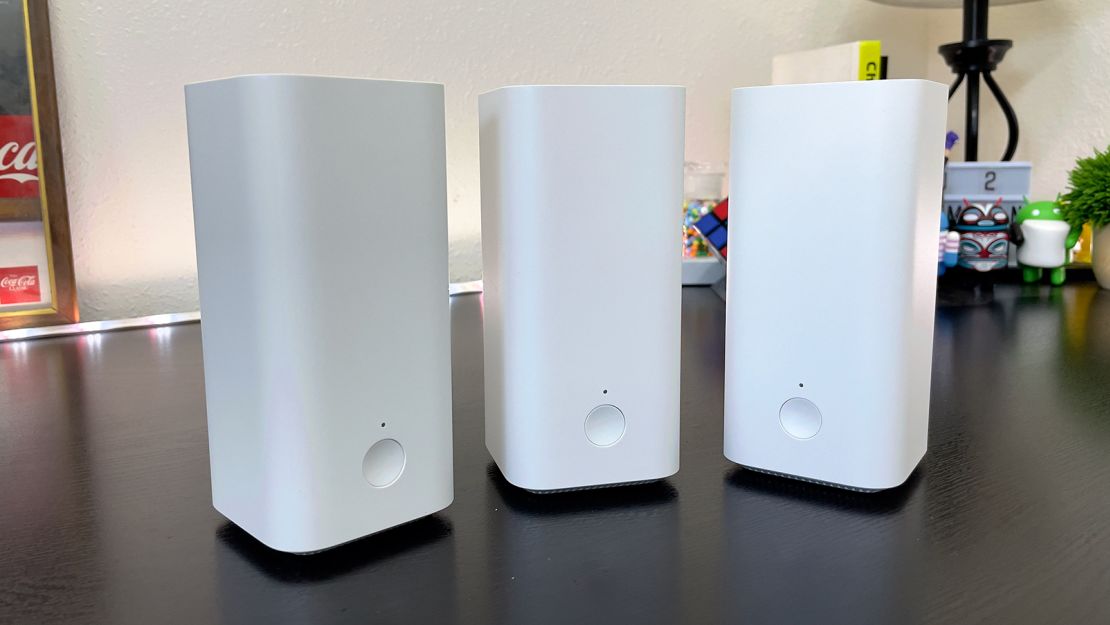
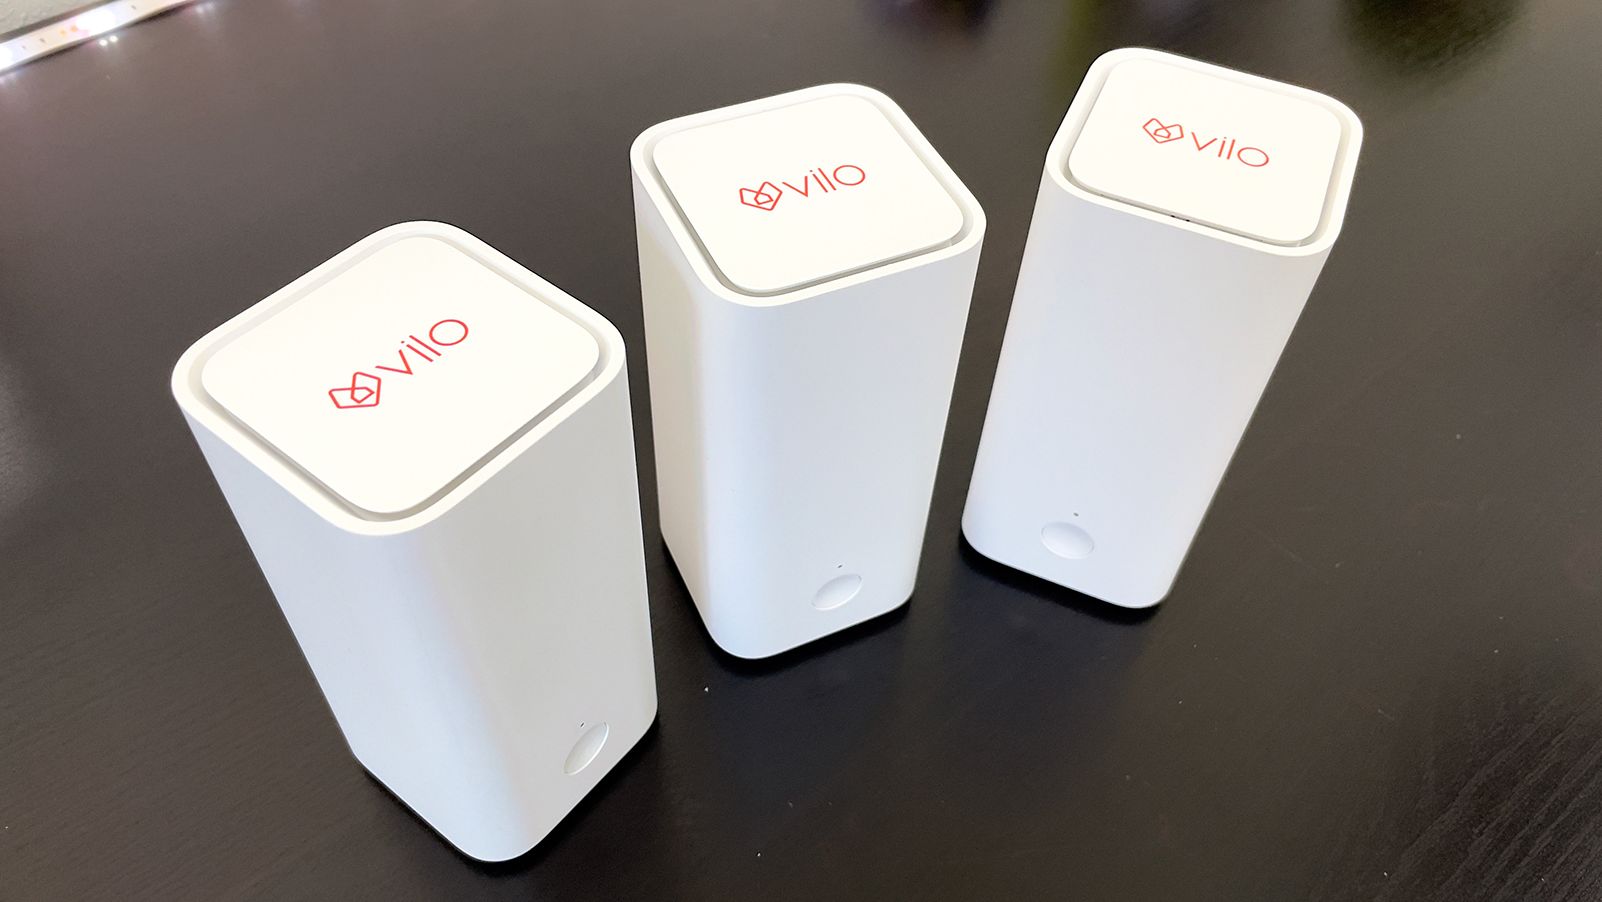
Vilo’s three-pack system casts a wide net of 4,500 square feet and each point covers 1,500 square feet. The units themselves are fairly small and opt for a rectangular build that reminds us of the Wyze Cam Pan or a miniature version of the Linksys Velop MX4200.
The front of each unit has an LED indicator light and a small button. That button is used for getting online, while the light gives you a glanceable status update based on the color of the light.
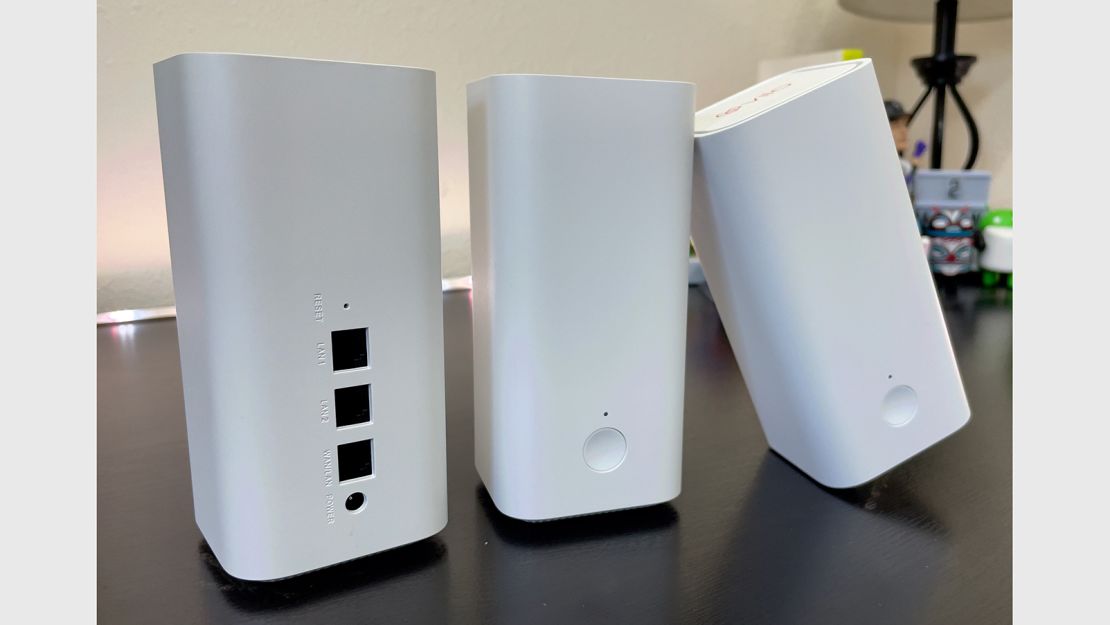
The back of each mesh point is a bit busier and starts with a pinhole for a reset button to factory reset each device. There are also two LAN ports, a WAN/LAN port and a power button. The ports are used to provide internet to the Vilo network on the main node (more on this in a minute), or connect a nearby device to the Vilo network via an Ethernet connection. All pretty handy.
Vilo’s design is minimal and doesn’t take up a ton of space, and even though you’re limited to a white housing, they’re not going to distract from your home’s decor, even if you have to place one of the access points on an end table.
The entire setup took under 20 minutes. You’ll need to download the necessary iPhone or Android app before plugging any of the Vilo units into power. The app not only serves as your means to control every aspect of your network, but it also walks you through each step of the setup process.
As expected, the necessary steps include a connection to your router and power, scanning a QR code on the bottom of the unit and creating your wireless network. Adding the second and third access point to the network is even easier. You simply need to plug them in and wait for them to find and connect to your newly created network.
It’s pretty handy that the mesh points will auto connect, but that only works if you’re using Vilo units out of the same box. If you purchased a total of four devices, it will work on the three that came in the same box, and connecting the fourth access point requires a bit more work. You’ll need to plug in and press the mesh button on the front, which will then let it find and join your mesh network.
Vilo recommends placing each unit within 30 feet of one another; however, we have ours placed a little over that range and haven’t had any issues. Your experience will surely vary, depending on what kind of obstacles — like walls, appliances or furniture — are between each mesh point.
By far, this is one of the easiest mesh setups we’ve tested, thanks to all of the units already being paired and ready to connect to one another. Other systems require you to use the app to add more mesh units to your network, extending the amount of time it takes to get your system up and running.
Performance and speed
We’d hesitate to recommend the Vilo system for a household that routinely has multiple people streaming 4K videos, gaming online or doing other bandwidth-heavy tasks, however. This system just isn’t built to handle that type of work. It’s best to think of the Vilo Mesh setup as an entry-level Wi-Fi system that will expand your coverage and provide a more reliable connection, but it’s not going to impress with a bandwidth-heavy workload.
Running multiple speed tests, only once did we see results break 100 Mbps when connected to the Vilo’s network, and that was immediately after rebooting the main Vilo node. Otherwise it averaged over 90 Mbps. We’re also testing the Wi-Fi 6-capable Plume SuperPods right now, and during the same speed test that broke 100 Mbps, the SuperPods hit speeds over 560 Mbps.
Even though Vilo’s test results were nowhere near the speeds of our current Wi-Fi 6 system, over 90 Mbps on a speed test is still more than fast enough for gaming, streaming 4K video on YouTube or participating in a Zoom call.
In fact, our MacBook Pro automatically connected to the test network on a morning when we had a lot of Zoom calls, and we didn’t notice any difference at all. It wasn’t until after the last call when we went to switch networks that we realized we’d been connected to the test network the entire time.
Each Vilo unit is equipped with 2.4 GHz and 5 GHz radios that are compatible with Wi-Fi 802.11ac. If that’s nothing but gibberish to you, just know that the 2.4 GHz and 5 GHz radios are designed to spread out the connected devices over multiple bands, which should help eliminate slowdowns on your network. As for 802.11ac, it’s the Wi-Fi standard for non-Wi-Fi 6 devices, which are capable of transmitting and receiving data at impressively quick speeds.
Even though the Vilo system isn’t Wi-Fi 6 compatible, Vilo states that it’s capable of handling 300 Mbps over its 2.4 GHz radio, or 867 Mbps over 5 GHz. Our home has a 1.2 Gbit (1,200 Mbps) connection from our internet service provider, so either speed should have been achievable for the Vilo system.
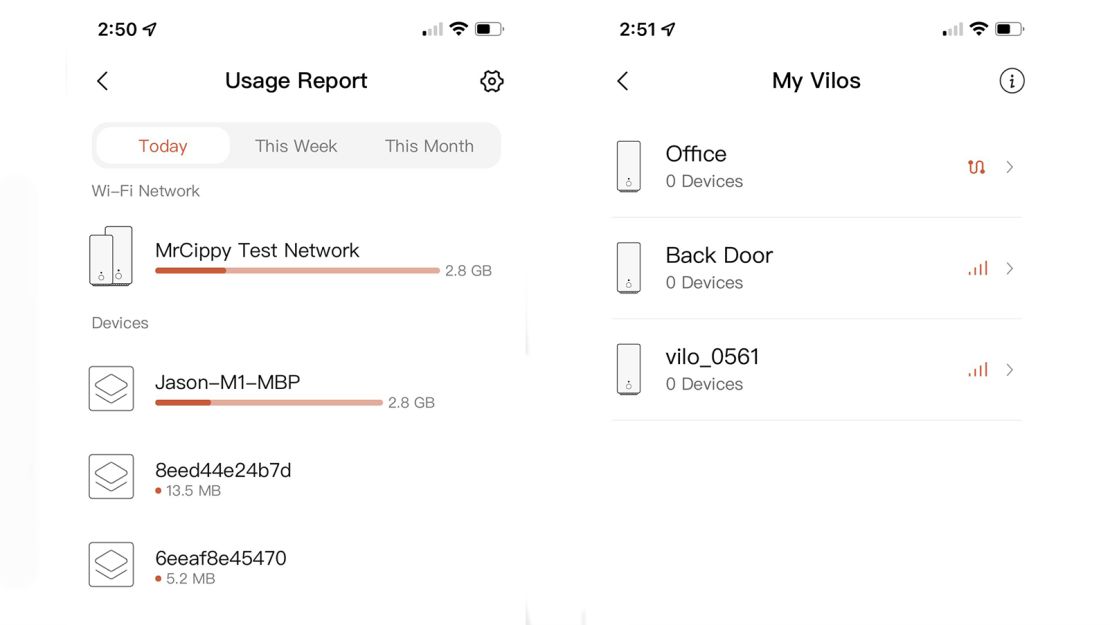
The Vilo app as a whole — once you’re past setup — feels both slow and unfinished. When you receive an alert that a new device is detected on your network, the alert wouldn’t arrive quickly. It could take a few minutes to even show a new device is connected in the app itself. This is a feature every Wi-Fi system should have, and so we’re happy Vilo included it — just not with the implementation.
Another issue is with updating the firmware. Every time we’ve been prompted to update, the app has told us that it failed as the progress bar reached 100%. Only for us to go back to the home screen and the app tells us that there’s no longer an update available. Why? Because the update actually was successful.
It’s a basic app that makes sense, but it’s also buggy.
Bottom line
Vilo seemed like a mesh network setup that was too good to be true. Twenty dollars per node? Get out of town. Yeah right.
It surprised us with reliable and consistent performance. And the brand is clearly aiming the system at someone who doesn’t want to pay to rent a Wi-Fi setup from their service provider while also increasing their overall coverage.
We’d say the Vilo system is ideal for the average person who doesn’t require massive amounts of bandwidth to accommodate multiple 4K streams, online gaming or countless smart home devices. If your Wi-Fi network serves as a means for working at home and entertainment, the Vilo system is more than capable of improving your overall experience.