There are plenty of ways to make your morning cup of coffee, whether it’s with a French press, drip machine or even cold brew maker. However, there’s one method coffee aficionados seem to always prefer over the rest: pour-over.
“The preference for pour-over is that, when executed properly (i.e., proper grind size, water temperature, saturation), the result is far and away the most dimensional and balanced of any brew method (in my opinion),” says Scott Price, head of roasting and production at Mud Coffee. “The length of time that the water is in contact with grind is optimal for ensuring that all of the proteins and lipids (which carry most of the tastiness) are extracted from the coffee, but not so long that you push into overextraction or astringency.”
Michael Phillips, 2010 world barista champion and global director of engagement and education at Blue Bottle Coffee, agrees. “Pour-over is my personally preferred method of making coffee, so I tend to make them often — about two to three times a day on average,” Phillips says. “Ultimately in my mind, a well-made pour-over coffee gives the best representation of what a specific coffee has to offer.”
We talked to coffee roasters and baristas to get the lowdown on everything you need to know so you can make the perfect cup of pour-over right at home.
What is pour-over coffee?
“Pour-over is technically the same as what most people will call ‘drip.’ Water comes into contact with ground coffee from above, then through the force of gravity, works its way through the bed of grounds, through some form of filter (typically paper) and into a carafe below,” Phillips says. “However, a manual pour-over process utilizing the right skill set gives much more control than automated machines and allows for the best brews.”
This drip method is in contrast to another popular brew method, French press. And for some coffee roasts, the experts we talked to prefer pour-over to the plunger method. “For darker roasts, a French press or autodrip would be adequate, as they will extract much more quickly and will potentially feature more ‘roasty’ bitterness on a pour-over,” says Price. However, if you enjoy medium-dark and lighter, Price says pour-over is the way to go.
“A French press can make a lovely cup, but it tends to be strongly defined by its metal filtration that lets sediment through into the cup,” says Phillips. “This can give a greater sense of body but also lowers the clarity, giving a more muddled flavor profile. Personally, I like the cleaner cup you get with a pour-over, but this is mostly a matter of preference.”
In addition to brewing a tastier cup, the act of pour-over is a bit slower, meaning you can take the time to take a mental break. “Beyond the cup, the act of making a pour-over is a meditative exercise that helps ground and center me inside of the five minutes it takes to brew,” says Phillips. “The ritual of making it is almost as enjoyable as the cup afterward.”
So if you’re ready to dive into the world of pour-over, we asked our experts what their step-by-step recipes for brewing are.
Pour-over instructions
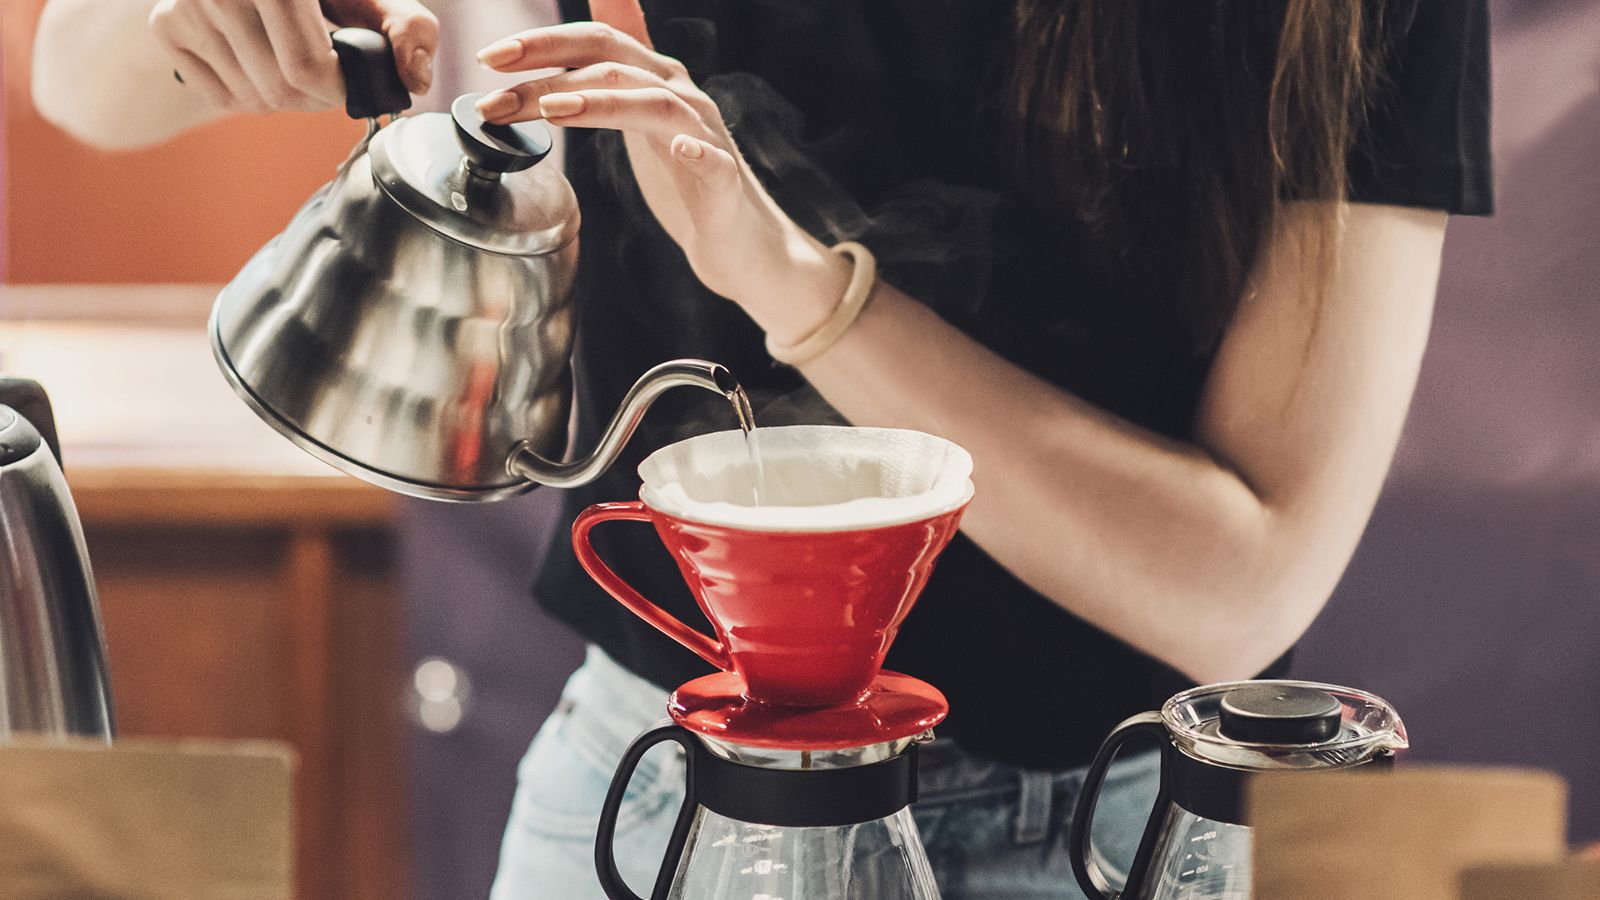
Step 1: Get your water hot
The first key to making the perfect cup of pour-over is heating up your water to the proper temperature. “This may surprise readers, but because there is so much heat loss during pouring and brewing, it is safe and helpful to use water just off the boil,” says Scott Rao, coffee consultant and author of coffee books such as “The Professional Barista’s Handbook.”
Phillips, however, suggests a temperature of 208 degrees Fahrenheit, and Colby Cox, a roaster at Atlas Coffee Club, suggests a temperature between 195 and 205 degrees Fahrenheit. Maintaining these specific temperatures is a lot easier with an electric kettle equipped with a holding function, such as the Fellow Stagg Pour-Over Electric Kettle, which many of our experts recommend. But if you don’t have an electric kettle, Maciej Kasperowicz, director of coffee at Trade, says you can wait about 30 seconds after it boils to get the right temperature.
One other thing to pay attention to is your quality of water. “Use clean, preferably filtered water, but not distilled,” says Cox. “Minerality helps brew coffee, but there’s too much in your tap and not enough in distilled.”
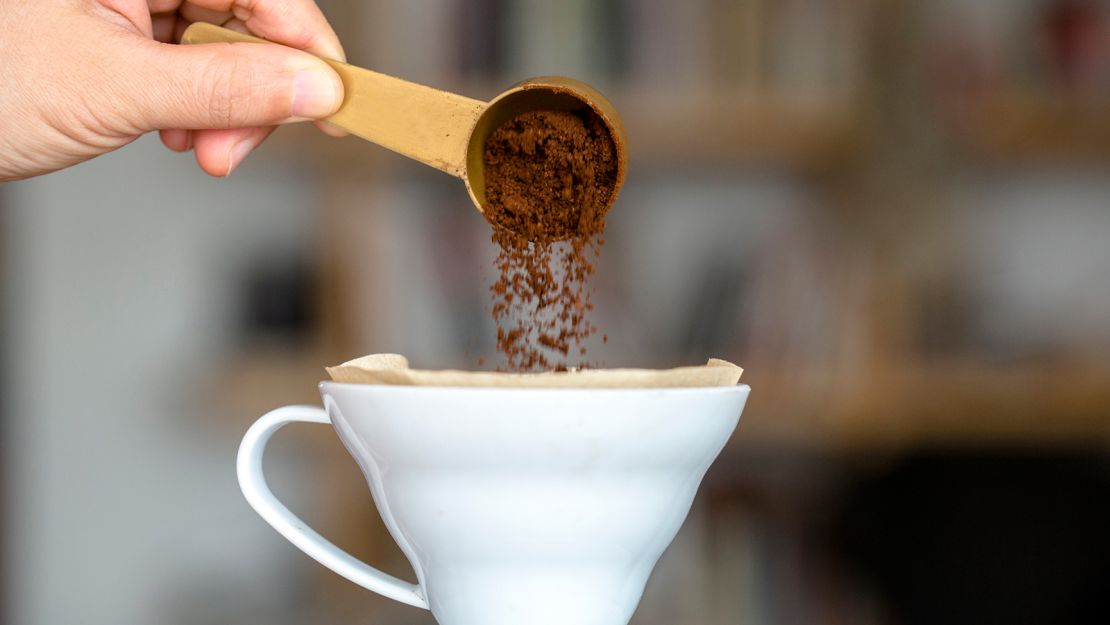
Step 2: A fresh grind is a must
All our experts recommend grinding your coffee fresh right before you brew, and preferably with a burr grinder. In terms of consistency and amount, opinions differ slightly, but Cox suggests starting with a general ratio of 1 ounce of beans for every 16 ounces of water, ground to the consistency of sandbox sand.
“In our cafés, we use 350 grams of water, which results in a normal 12-ounce cup,” says Phillips. “For this amount of water, 30 grams of coffee yields a fairly strong cup that will stand up to milk and sugar, whereas 23 grams or so will produce a lighter cup that can help to highlight the unique characteristics of a coffee.”
If your first cup doesn’t taste the way you want it, Phillips suggests changing the grind rather than the amount of coffee you use. “Grinding too coarse can result in a fast brew that tastes sour,” he says. “Grinding too fine can result in a slower brew that tastes bitter. The trick is to find the sweet spot in the middle, and you usually only find that through trial and error.”
Step 3: Wet the filter, add the grounds and prepare to pour
Now that your water is hot and your coffee is ground, you can get your pour-over maker ready and add a filter to it. Many of our experts recommend wetting the paper filter by pouring some water through it before adding the grounds; however, Kasperowicz says this step isn’t necessary.
Once your filter is ready, pour out any excess water in your maker, then place it on a scale so you can accurately measure everything. Once your scale is tared and you add your preferred amount of grounds, Rao and Price say to shake your pour-over maker to ensure your bed of grounds is nice and even.
Before you start the next step, get a timer handy since you’ll have to know just when to start and stop your pours.
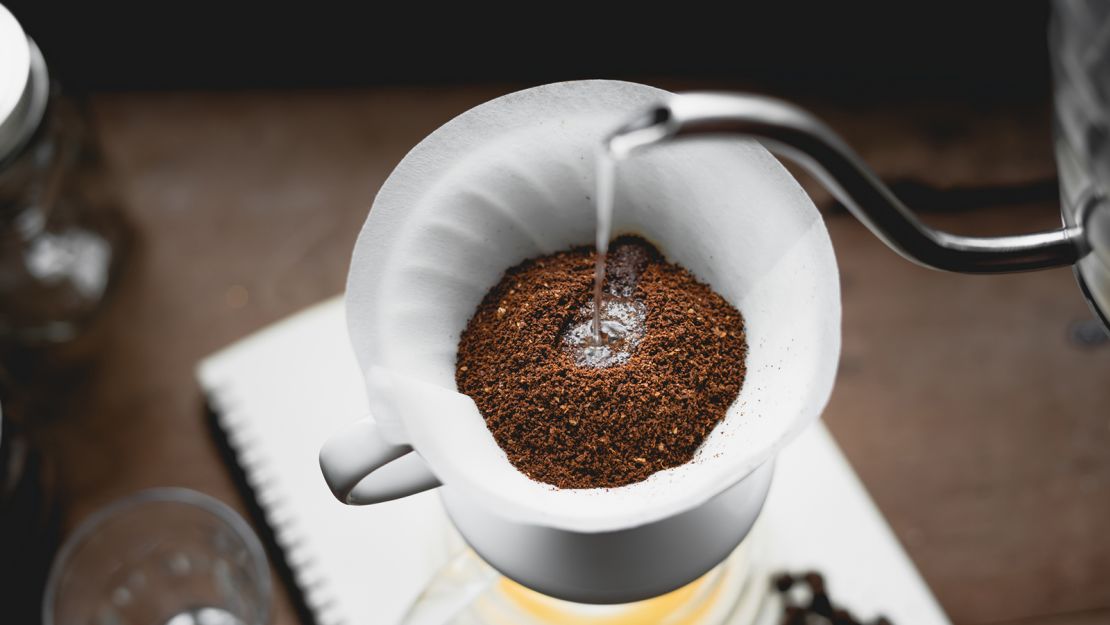
Step 4: Wet your grounds and wait
You might think it’s time to pour, but there’s still one more critical step before you fully brew: the bloom. “How you add the water is a VERY debatable topic among coffee professionals, but most techniques involve adding a small amount of water to start (we do around 50 grams) and then letting it sit for 45 seconds or so,” says Phillips. “This is the blooming phase where the coffee is letting off gas trapped when it was roasted.”
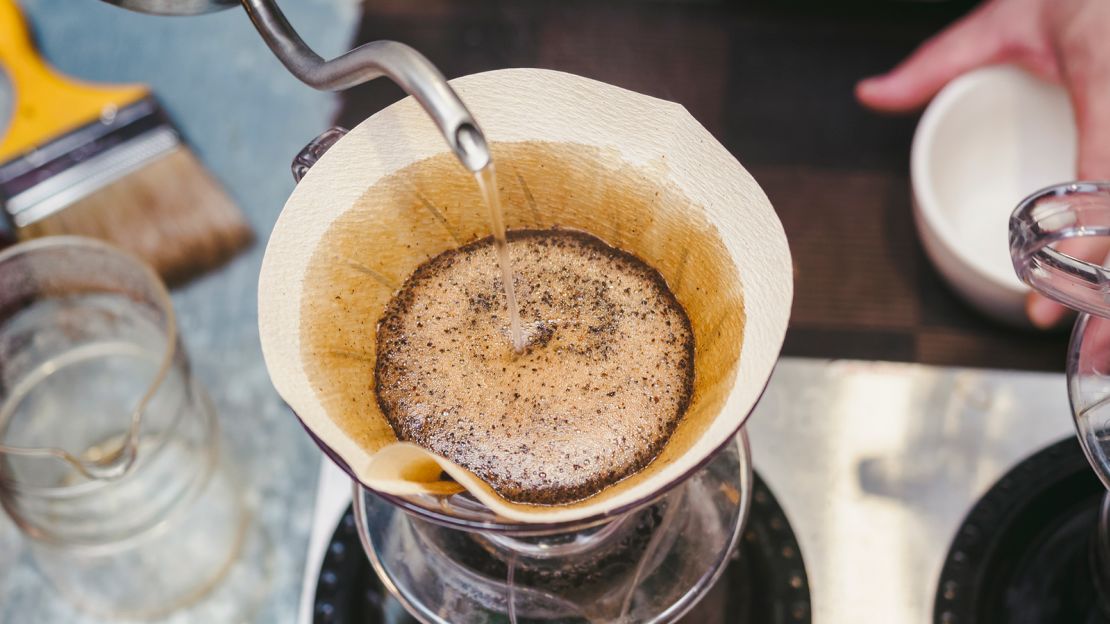
This stage is so important because, according to Cox, if you don’t allow the coffee’s gasses to escape, your cup won’t taste right. “You should see large bubbles coming up from your coffee,” he says. “This is natural trapped gasses from the fresh coffee escaping. If you don’t give it time between pours, this gas gets trapped in your final brew and can make it taste overly acidic.”
Many experts recommend pouring in about three times the weight of your grounds in water to ensure your grounds are completely wet,
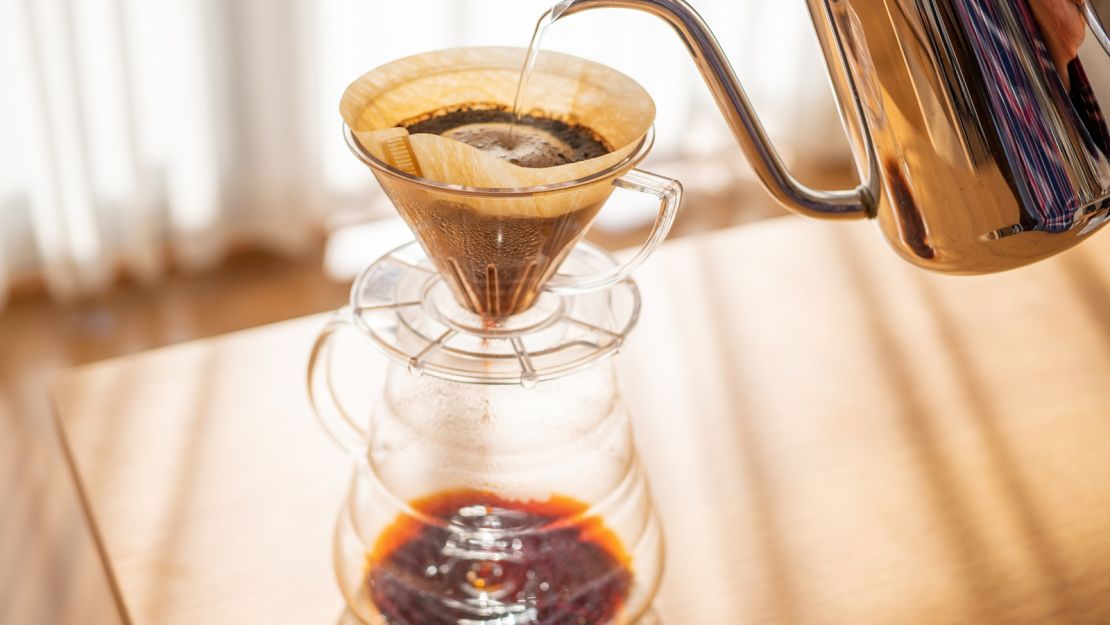
Step 5: Pour slowly and be patient
After allowing your coffee to bloom for 30 to 45 seconds, you’re finally ready to pour. This step requires the most technique, so don’t worry if you don’t nail it the first few times. However, the experts we talked to have differing methods for their pours, so you can try them all and choose whichever you like the best.
Cox says after you bloom your grounds, you should “just go for it” and pour away. “Pour enough water to fill your pour-over halfway, wait, let it drain a bit and repeat,” he says. “Do this over and over again until your scale reads the target weight,” bearing in mind his suggested 16:1 water-to-grounds ratio.
Phillips has a slightly stricter technique, saying, “Proceed to add the remaining amount of water over a series of pours, adding some, letting it drain down, adding some more and so forth. We like to do four pours in our cafés, adding 50 grams, then up to 150, then up to 250, then up to 350.”
Rao, on the other hand, does fewer pours but encourages you to occasionally swirl the brewer to mix the grounds with the water. “When pouring, hold the kettle at a constant height, pour gently with a vertical water stream and try to spread the pour evenly around the slurry,” he says. On your initial bloom pour, he recommends to “spin” or “swirl” the maker for a few seconds, then sit tight. “When the timer reaches 0:45, pour until the total water weight reaches 200 grams. Swirl the brewer for just one second,” he says. “When the water level above the grounds is less than half an inch, pour the remaining water using the same technique as before. Swirl the brewer for one second. Serve when the coffee has drained through the grounds.”

Kasperowicz’s pour is a constant balance between weight and timing. “I’d like to get all 400 grams of water in at around two minutes, so I usually pour most quickly to start, and maybe I’ll get up to 200 grams, take a breath and then pour in 50-gram increments every 50 seconds or so,” he says. “Basically, don’t let your grinds get dry, but if it looks like the water isn’t running through, pour a little faster (and make a note to maybe grind a little coarser next time).”
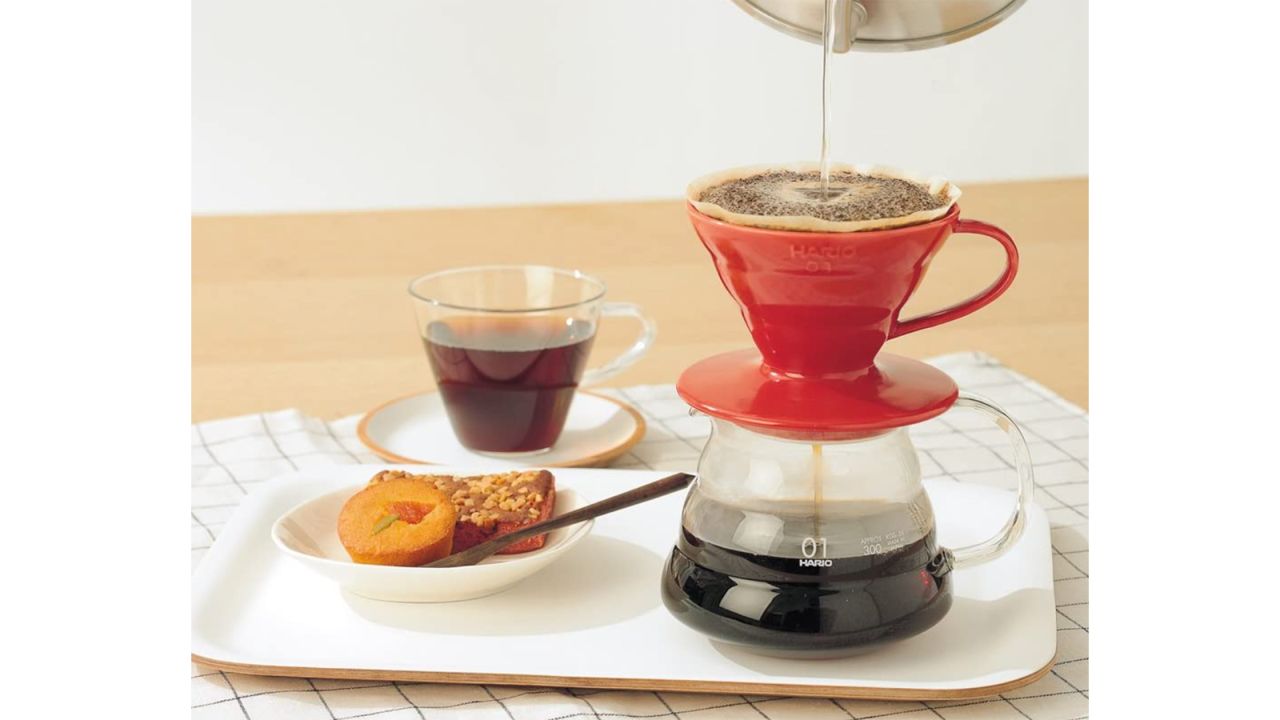
Price likes to use either the Hario V60 or the Kalita Wave for his pour-over. When using the Hario V60, he suggests putting a little divot in the center of 28 grams of medium-ground coffee and slowly pouring 56 grams of water in a circular motion — starting from the divot — as a bloom pour. Then, after waiting 45 seconds, he says, “Continue pouring slowly, evenly and circularly, up to roughly 250 grams. Allow to drip down slightly and then slowly and continuously continue to pour up to 370 to 400 grams (depending on the coffee/development),” he continues. “Allow to drip down slightly and then give the dripper one more gentle swirl — this will aid in creating a flat coffee bed at the bottom of the dripper (thus avoiding channeling). Drip to completion — between 3:30 and 4:00.”
When Price uses the Kalita Wave, he doesn’t add a divot to the grounds but rather shakes them to make a flat, even bed. He slowly pours 54 grams of water over 27 grams of medium-ground coffee, then waits 45 seconds. After the bloom, he says to pour slowly and evenly up to 250 grams, allow it to drip down to just above the coffee bed, then pour again slowly in a circular motion up to 355 to 375 grams. Again, he recommends gently shaking your brewer to settle the bed, then you can watch your coffee drip until completion.
Step 6: Enjoy!
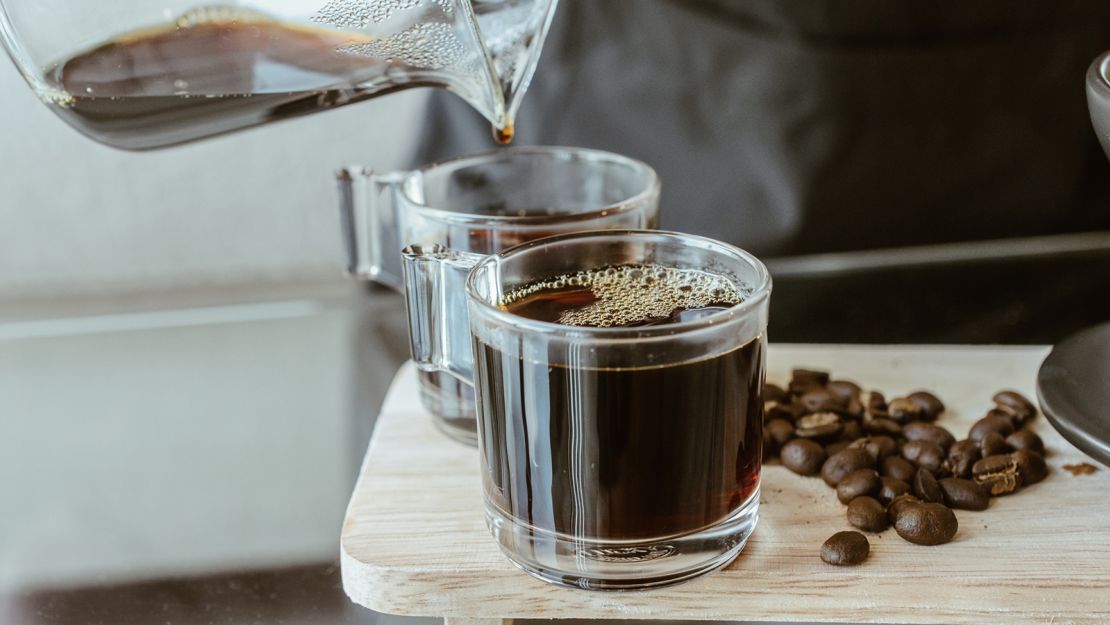
Once your coffee has finished dripping, you can dump (or compost) your coffee grounds and filter, rinse out your brewer and enjoy the perfect cup of pour-over. Our experts say the key to making a good cup of pour-over is to taste the cup afterward and figure out what you can change to make your next cup even better.
“Once you brew a pour-over, you don’t have to be a trained barista to make adjustments and make it taste the way you like it, as long as you keep a consistent routine and pay attention,” says Kasperowicz. “If it tastes too bitter to you, grind a little coarser next time and keep the rest of your routine the same and it should help. Too sour? Grind a little finer. Too weak? Use a little less water.”
But above all, our experts say to experiment and have fun. “Don’t sweat the technique. Too much contemplation on what’s ‘right’ and ‘wrong’ will leave lots of people just simply not trying, and that’s no fun,” says Cox. “Find the things that work and make coffee you enjoy. If other people don’t agree or don’t like it, they don’t have to drink it!”
Pour-over coffee equipment
Aside from asking our experts how to make pour-over coffee, we also asked them for any recommendations on the best gear and equipment to set you up for pour-over success.
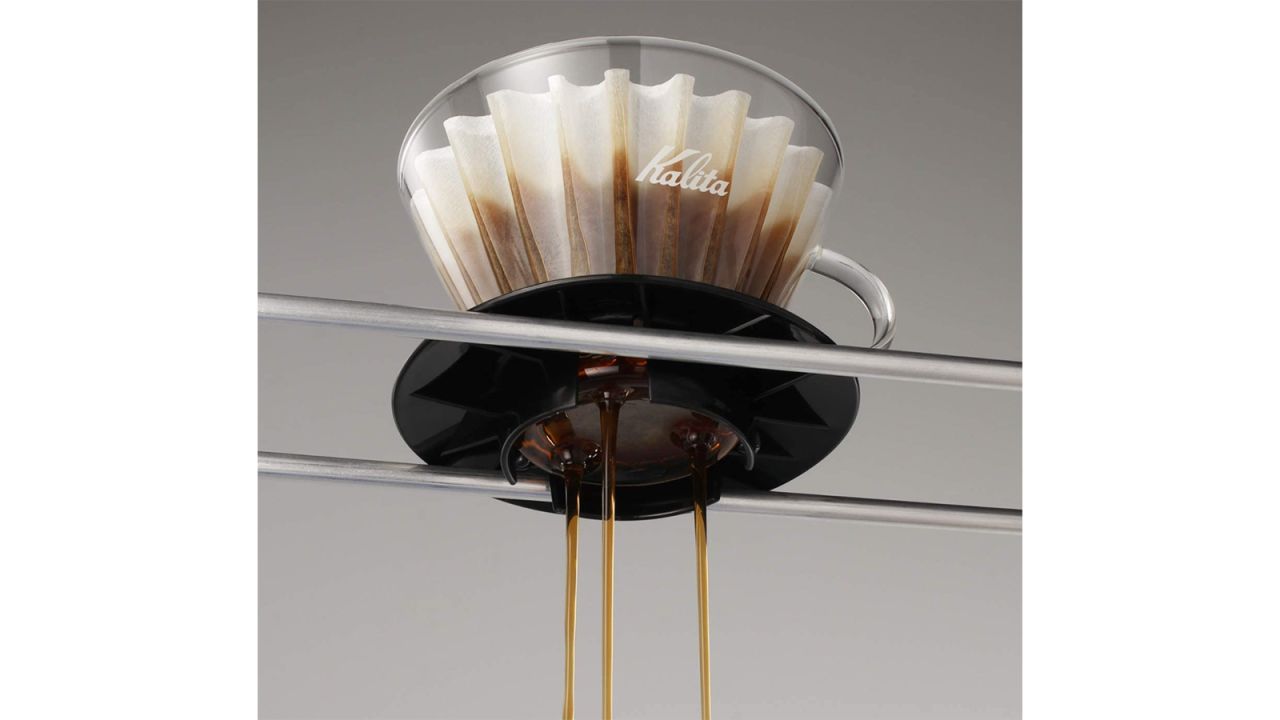
Our pick for the best overall pour-over coffee maker, the Kalita Wave also comes recommended by nearly every expert we talked to. It’s a great option if you only need to make one cup at a time.
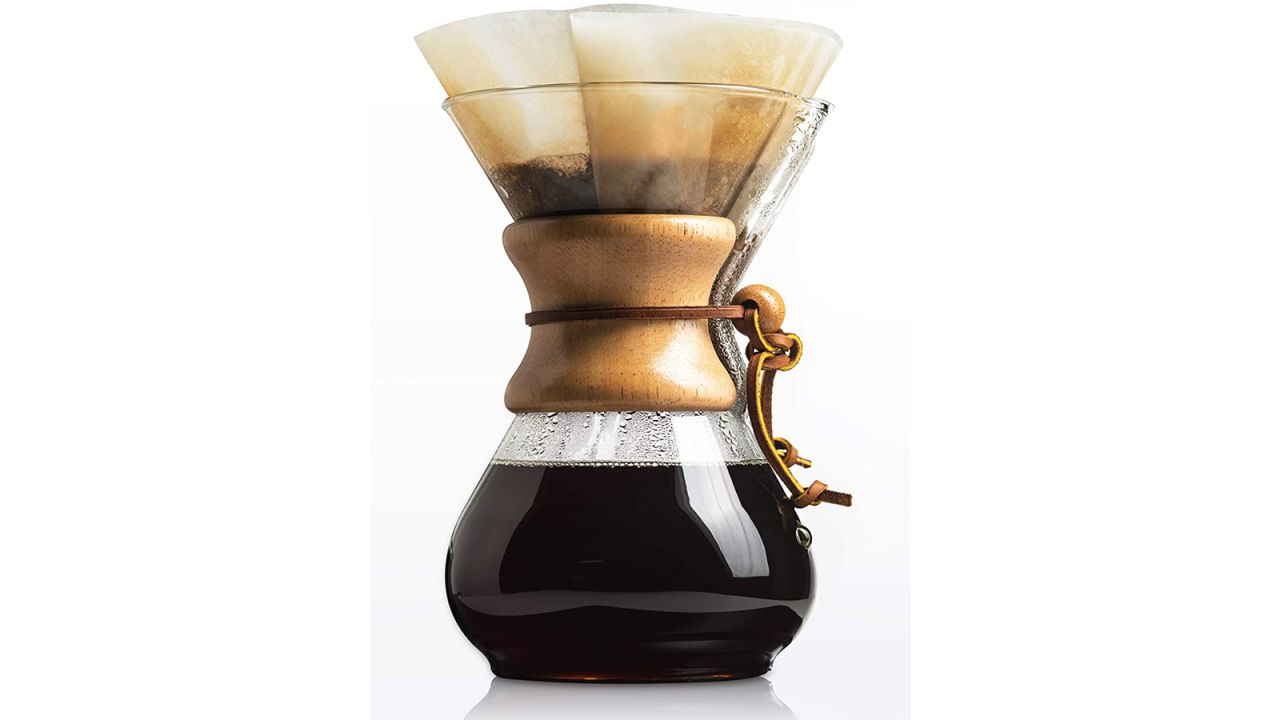
If you’re making coffee for more than one person, the Chemex is definitely the pour-over maker for you. One of our other picks for best pour-over maker, our experts also recommended the Chemex. “Do you entertain or make multiple cups of coffee a day? Get a Chemex,” says Cox. “The carafe is built into the pour-over, it’s handsome, sleek, trendy and widely available right now.”
Rao and Price both recommend this dripper for its simple design and delicious results.
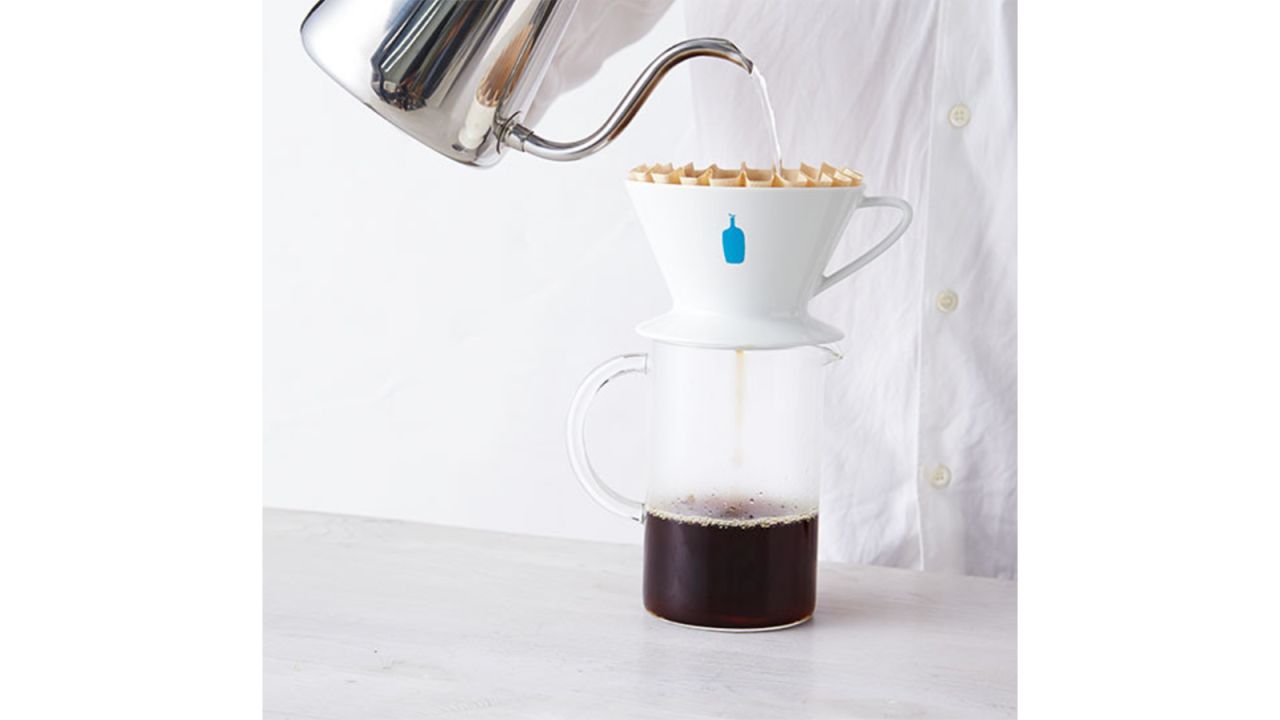
The Blue Bottle pour-over dripper is a sleek and stylish brewer similar to the Hario V60. It’s made to pair with Blue Bottle’s tailor-made filters, which are included in this nifty Blue Bottle pour-over starter kit.
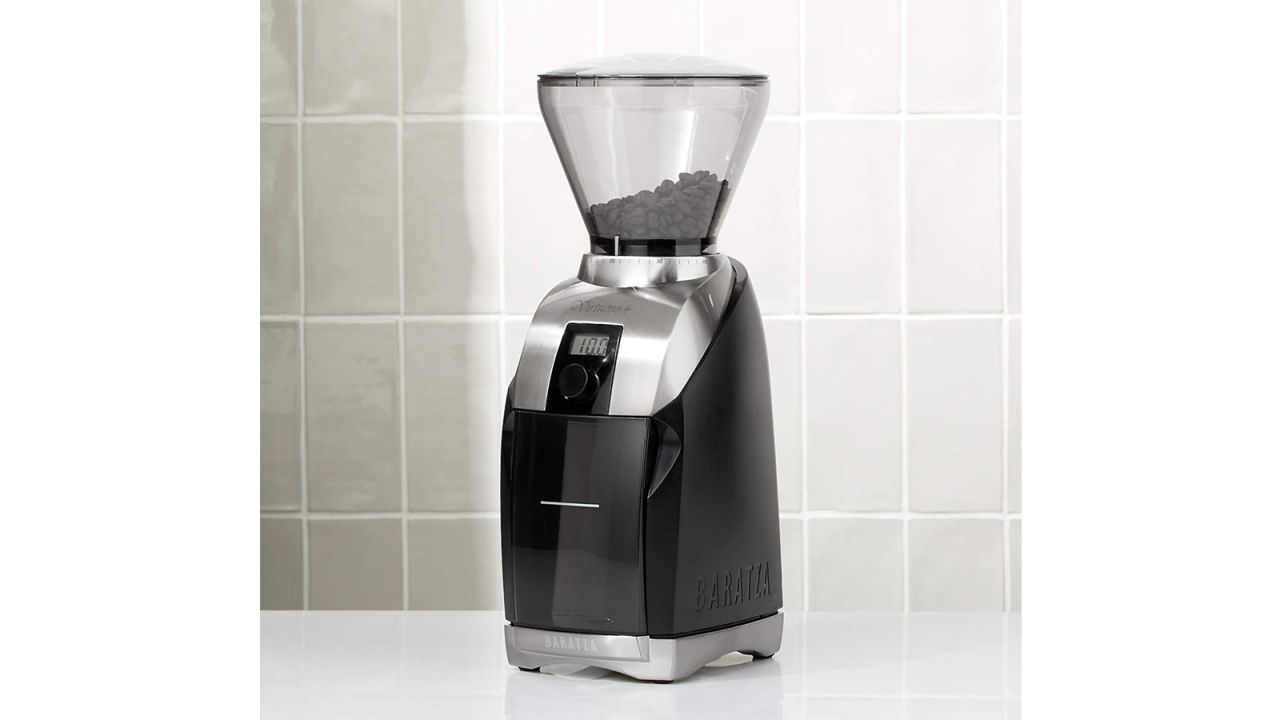
“A good-quality burr grinder that lets you adjust how fine or coarse the grinds are can really level up your cup, but it will also be one of the more expensive pieces of equipment,” says Phillips. The Baratza Virtuoso+ is our pick for the best coffee grinder, thanks to its consistent grind and 40 available settings.
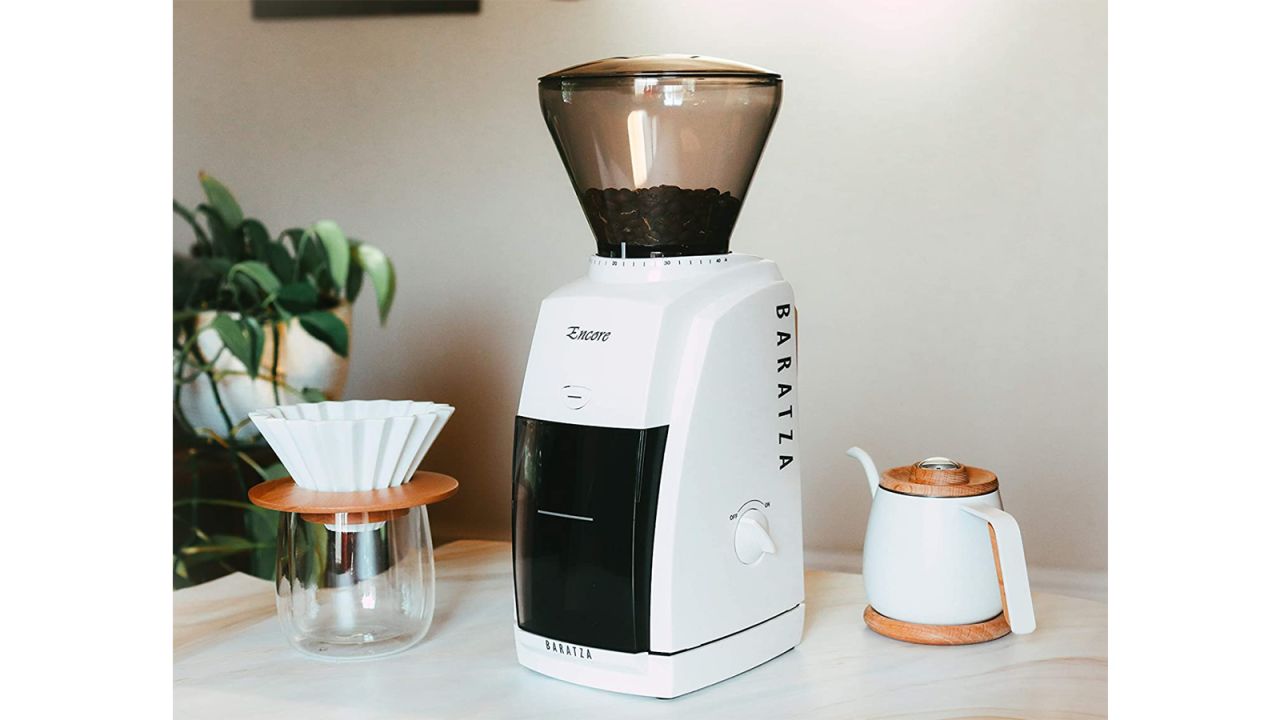
Several experts recommend this Baratza model. “Baratza is a tried and tested brand — their Encore model is in my opinion the most bang for the buck,” says Price. Kasperowicz also says he’s been a fan of the Encore for a long time.
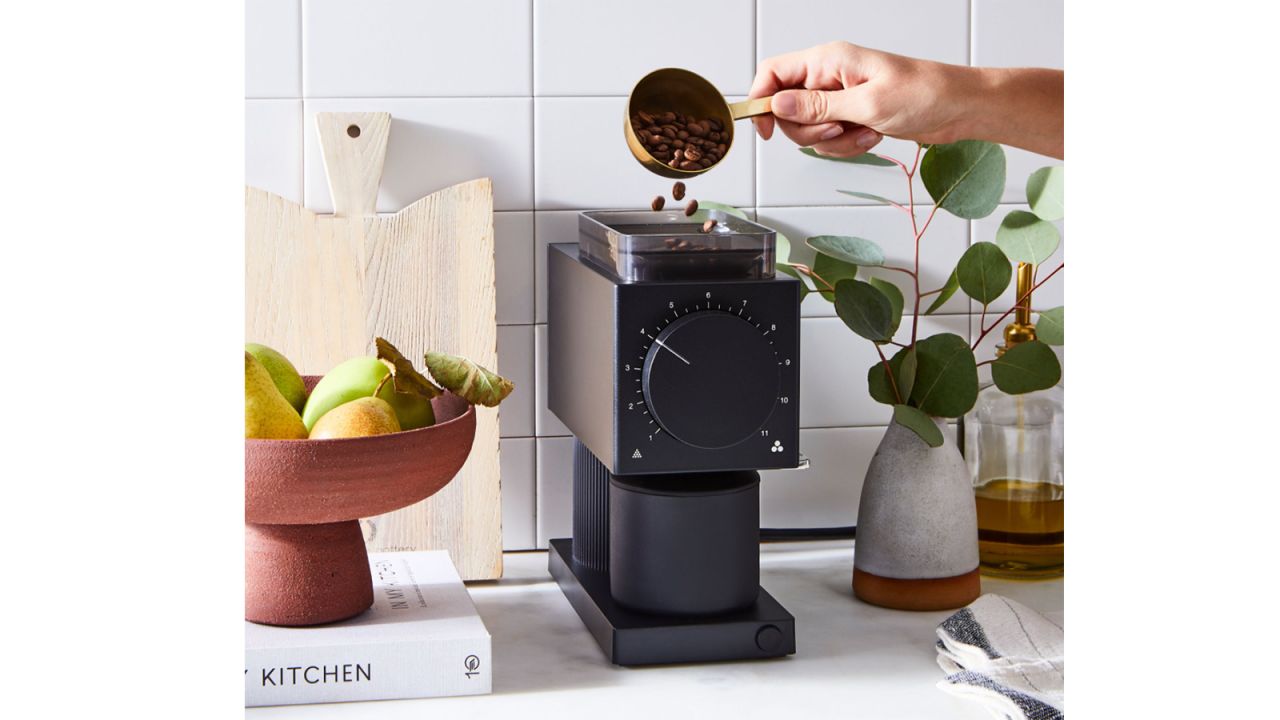
“Upgrading to a burr grinder from a blade grinder is second only to buying more delicious coffee in the amount of impact it can have on your home brewing,” says Kasperowicz. The Fellow Ode is an upgrade pick that many of our experts recommend, and Kasperowicz says they even have one in the Trade office.
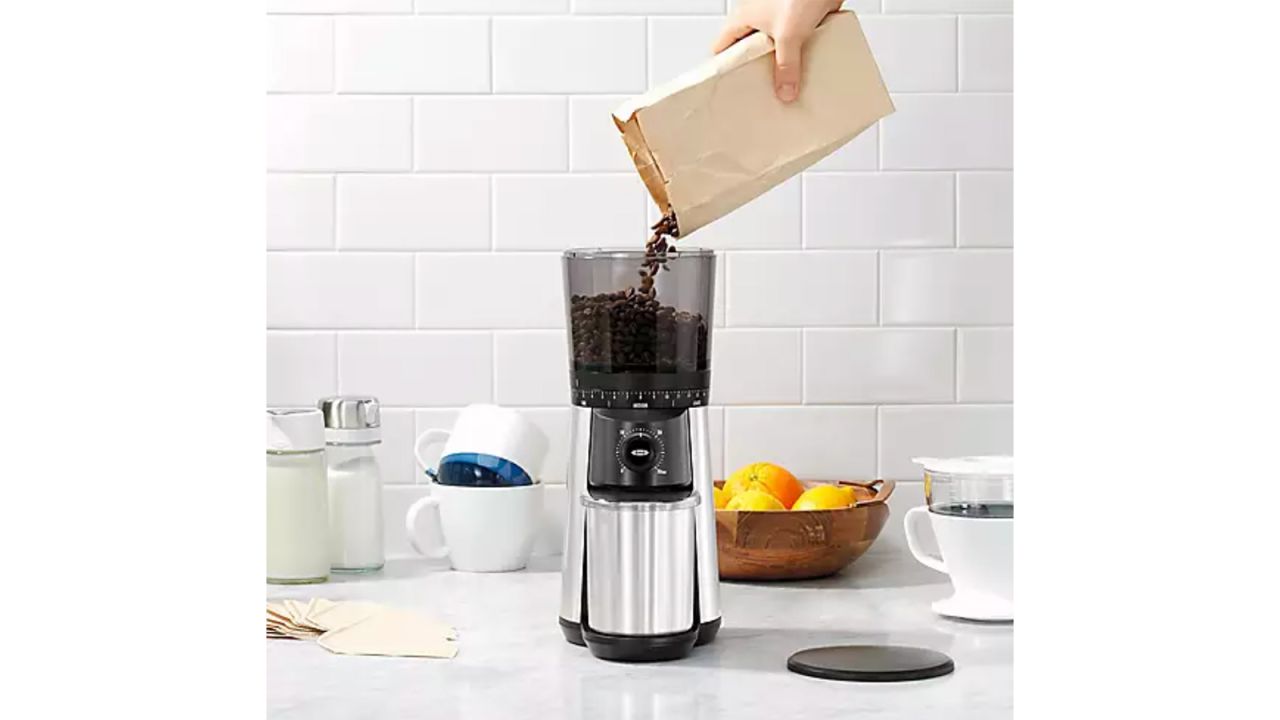
If you’re looking for a cheaper burr grinder, Kasperowicz an Oxo grinder, like this one which was our runner-up pick for best budget coffee grinder.
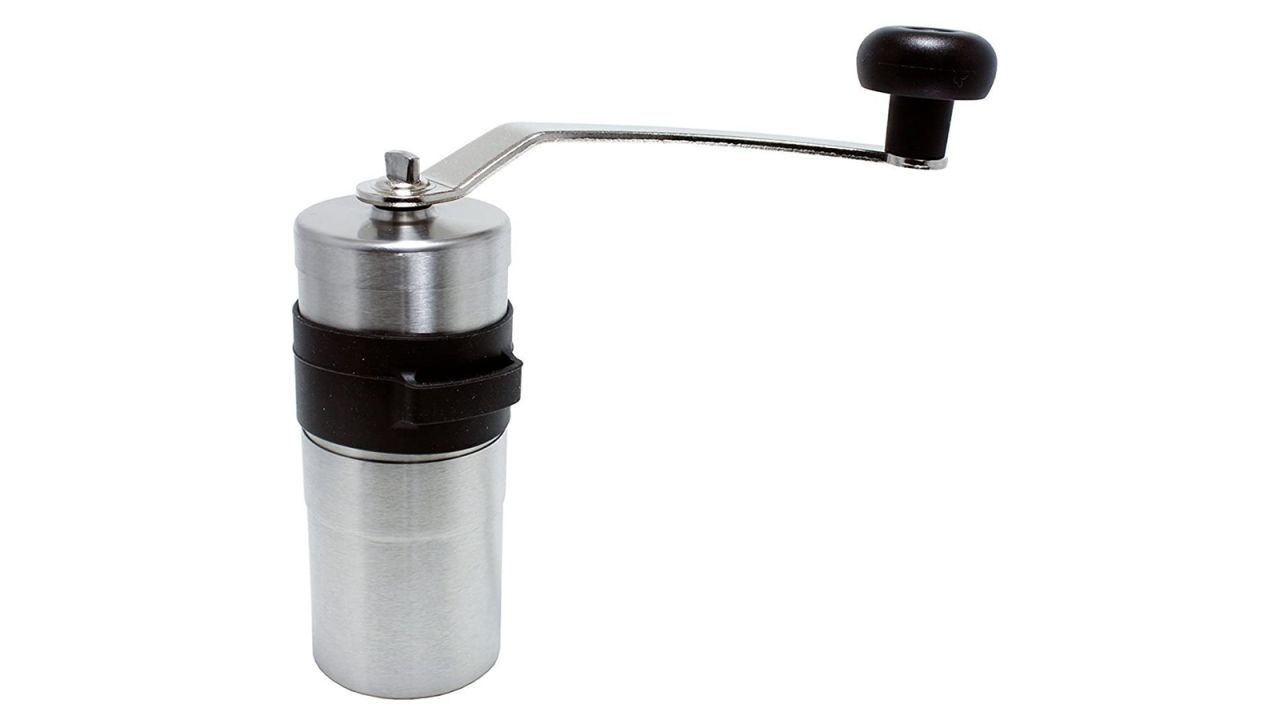
If you want to take your pour-over setup on the go or need something that takes up less counter space, this manual grinder was our favorite handheld option.
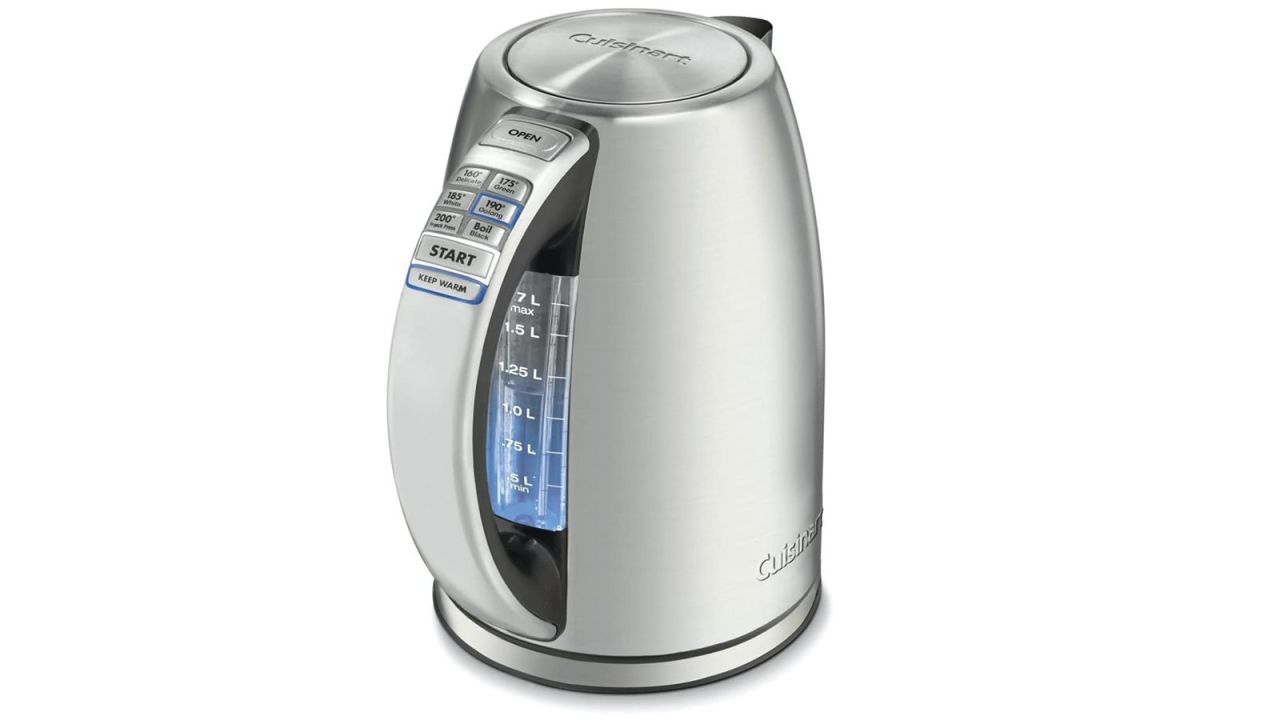
Having an electric kettle at the ready will make your brewing process that much smoother. This Cuisinart kettle was our favorite among those we tested due to it's many temperature options and big capactiy.
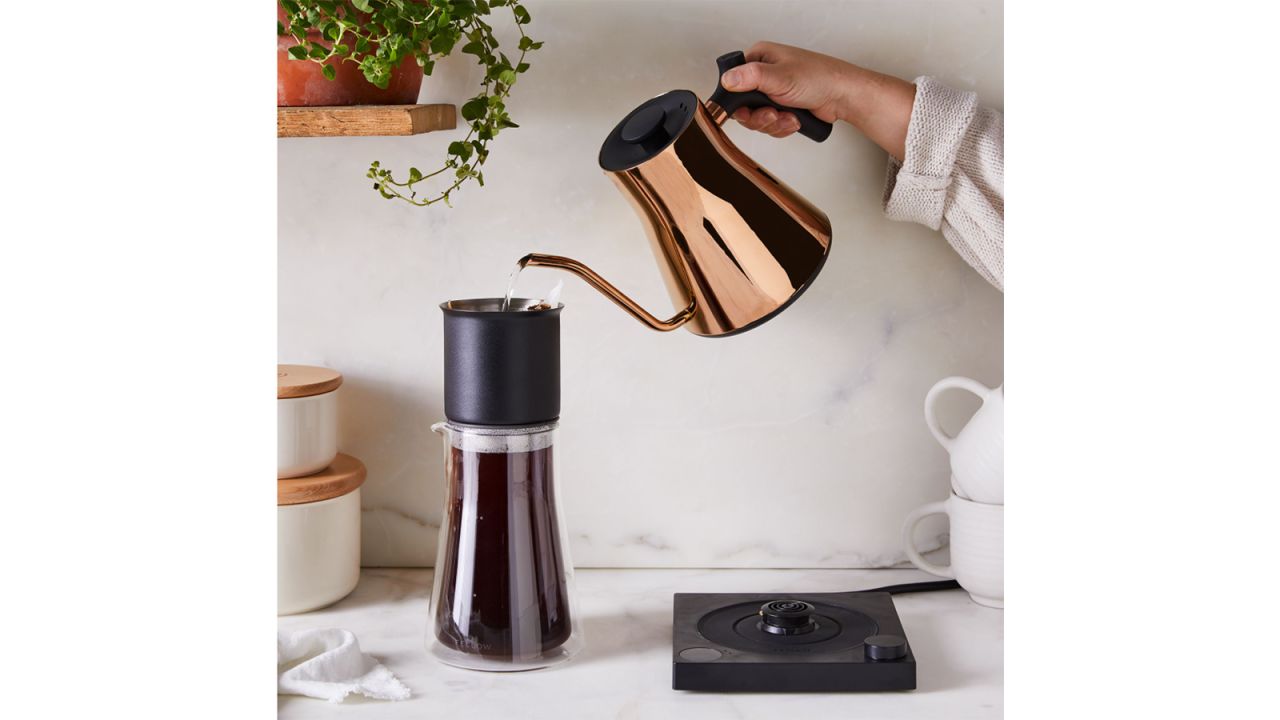
Many of our experts recommended this electric kettle from Fellow. It has precise temperature control and is available in multiple colors and finishes — including a gorgeous green in a collab with Great Jones that we absolutely love.
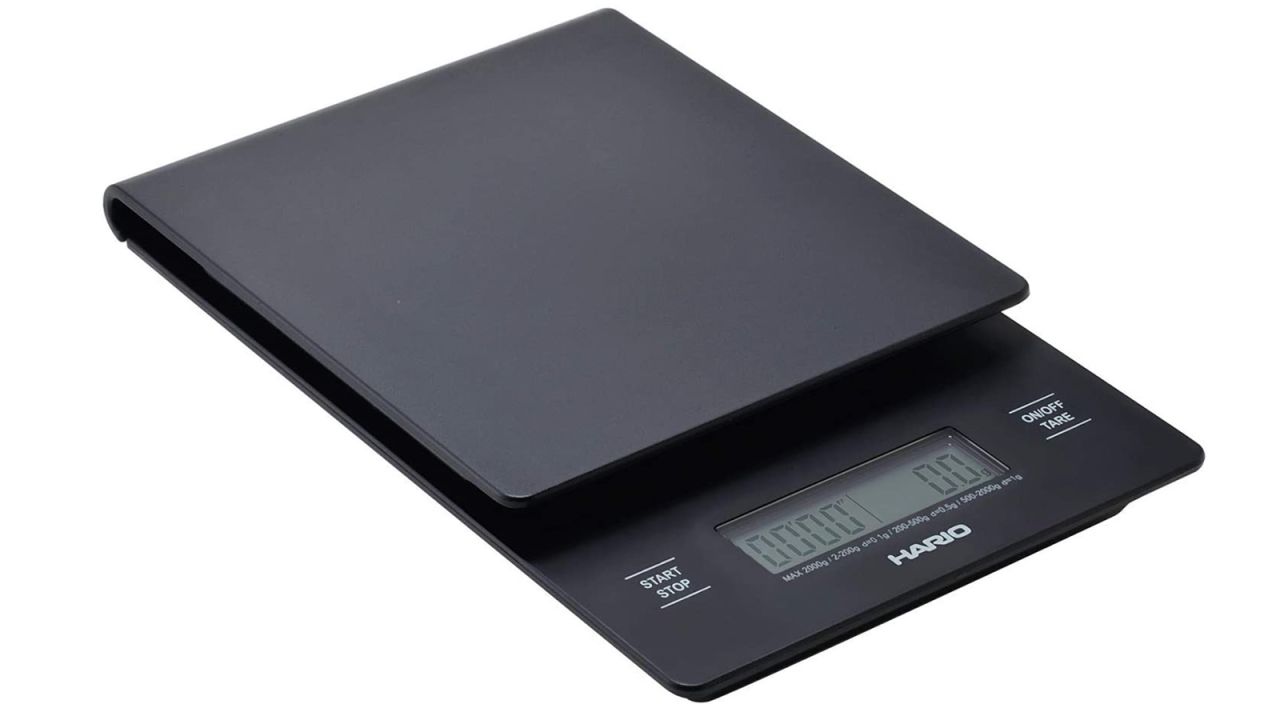
Phillips says he has a soft spot for this scale, which comes with a timer for a convenient pour-over experience.
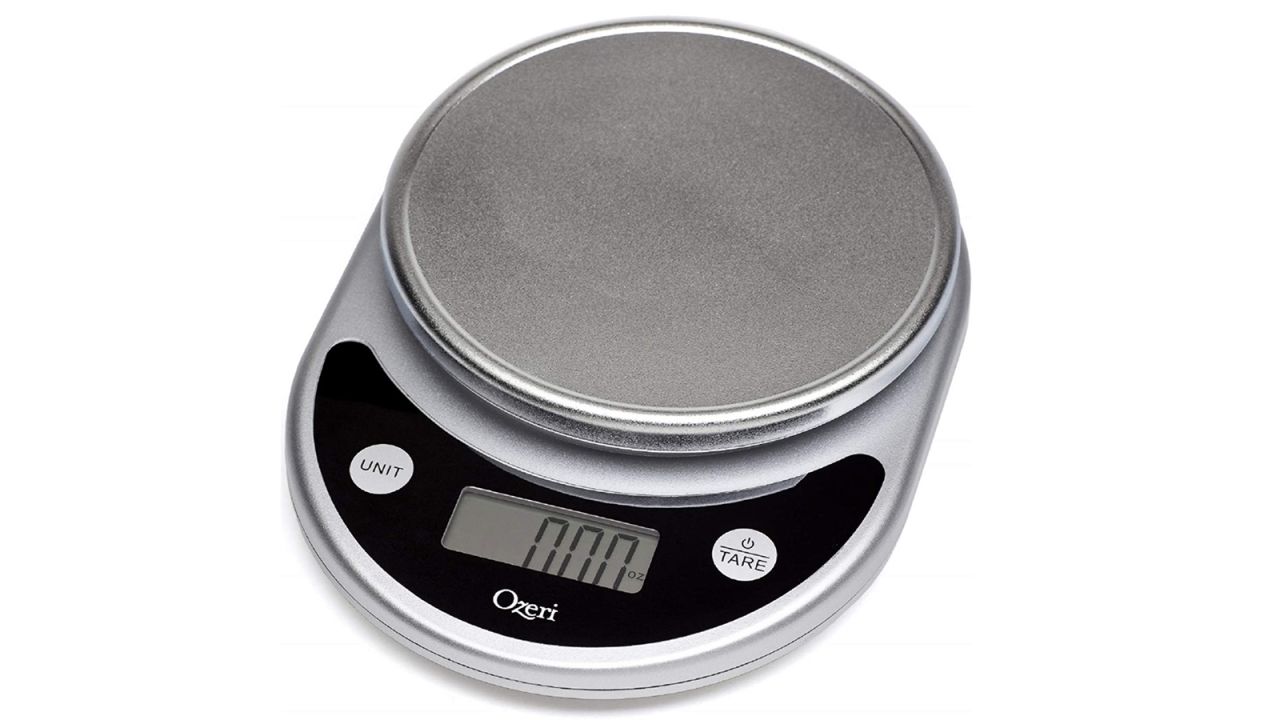
If you're looking for a more budget friendly scale, this under $10 Ozeri scale is our pick for the best kitchen scale, thanks to its easy-to-use interface and consistent measurements.
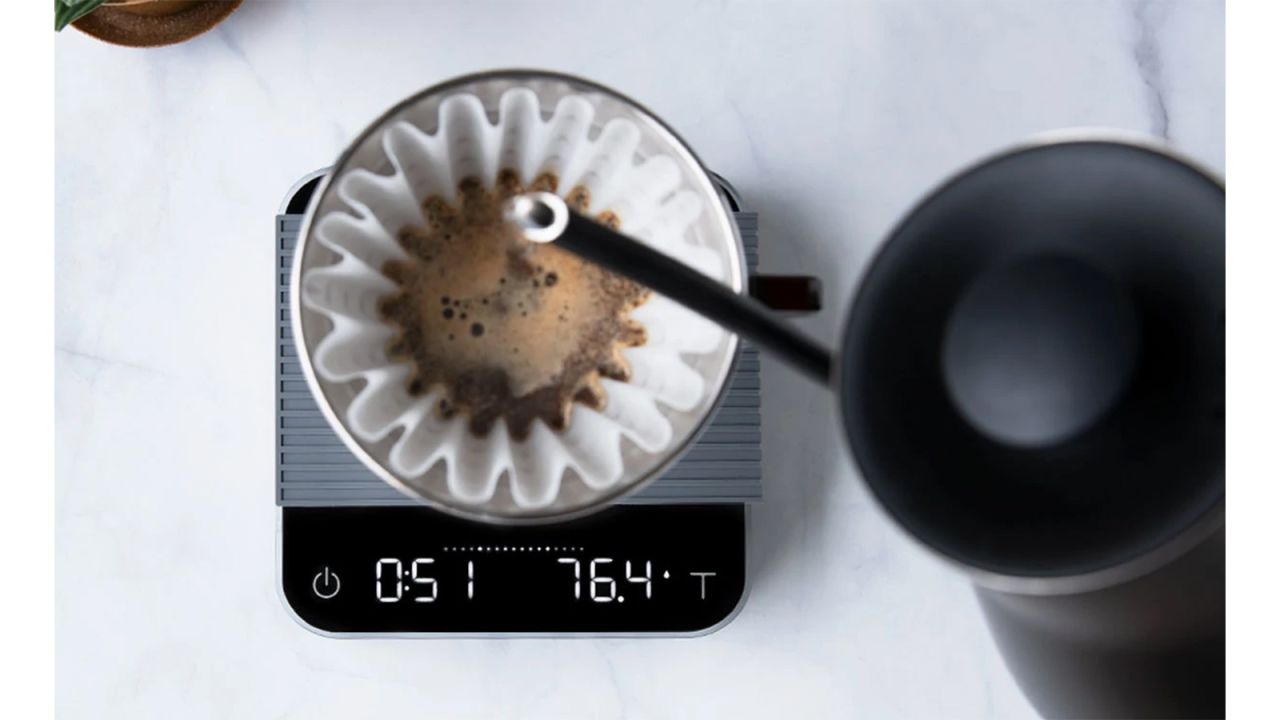
Phillips says he loves this gorgeous scale from Acacia that features a real-time flow-rate indicator.